The theme was Alice in Wonderland and we had the house decorated from the time the guests drove up until the moment they left. I got many of my ideas off of Pinterest and several I came up with on my own.
This will be a very long and photo heavy post. Poor baby was sick AND had skipped her nap before the party so she wasn't exactly in the mood for the festivities. It was her party and she could cry if she wanted to, right?
Let's start with the birthday girl!

We had Disney's Alice in Wonderland playing on the TV in the background throughout the party.

I made her Alice birthday outfit. I got a lacy romper top and made a 3 layer tulle tutu that was light blue with an "apron" of white in the front and a huge white satin bow in the back. I also knit her a wool cloth diaper cover that was the Cheshire Cat on her booty. It was topped off with white Baby Legs and black soft shoes. I also knit myself a mini top hat representing the Red Queen and my husband got a green fedora for a loosely interpreted Mad Hatter.

Let's get the party started!
The first thing that the guests would see would be large cardboard cut outs of the White Rabbit at the road and at the mail box that Mister drew and made, but we didn't get pictures of those :(

Coming up the walkway, guests would find themselves wandering through the pink flamingos left out after a game of croquet.


Then guests would stumble upon the Mome Raths.

To get into Wonderland, the guests would have to step through the looking glass.

We put streamers in the doorway to simulate stepping through the looking glass. Then the Queen of Hearts would point guests where to go.


The guests would be directed on how they should enter the party by choosing the Adult Path or the Children's Path. The Adult Path said, "Please take a stroll down Memory Lane to enter Wonderland" and they would walk by photos hung of MissE from gestation to present time. The Children's Path said, "Please crawl through the Rabbit Hole to enter Wonderland!"and they would crawl through a tunnel.


This is what guests would see as they enter Wonderland, or as we liked to call it, ONEderland!


MissE's "smash cake" was a teacup-shaped cake with the top filled with chocolate pudding.

The food.


"Drink Me" water and punch. I also had tea but I forgot to set it out so I'm sure it looked silly to have cups set out with bottled drinks.

This was everyone else's cake. I did red velvet cupcakes with red and white cream cheese frosting piped like a rose onto each cupcake, set into skewers, and put in a basket to simulate "painting the roses red". We even used food coloring to dye the skewers green!

What kind of Wonderland party would we be without "Eat Me" cookies? Notice the Cheshire Cat teapot and Alice teacup.

The first activity we had the kids do was to color their own Cheshire Cat smile.

We then played Pin the Smile on the Cheshire Cat with the smiles they colored. Afterwards we glued popsicle sticks onto the smiles so they could hold them up to their faces and take them home as a party favor.

We then tossed bean bags into the playing card. Mister drew and made the card and I did the bean bags. We had another activity out where we were going to have the kids make their own Mome Raths like the ones in the yard but we decided that would be too messy and disorganized so we skipped it.

We moved on to opening presents!

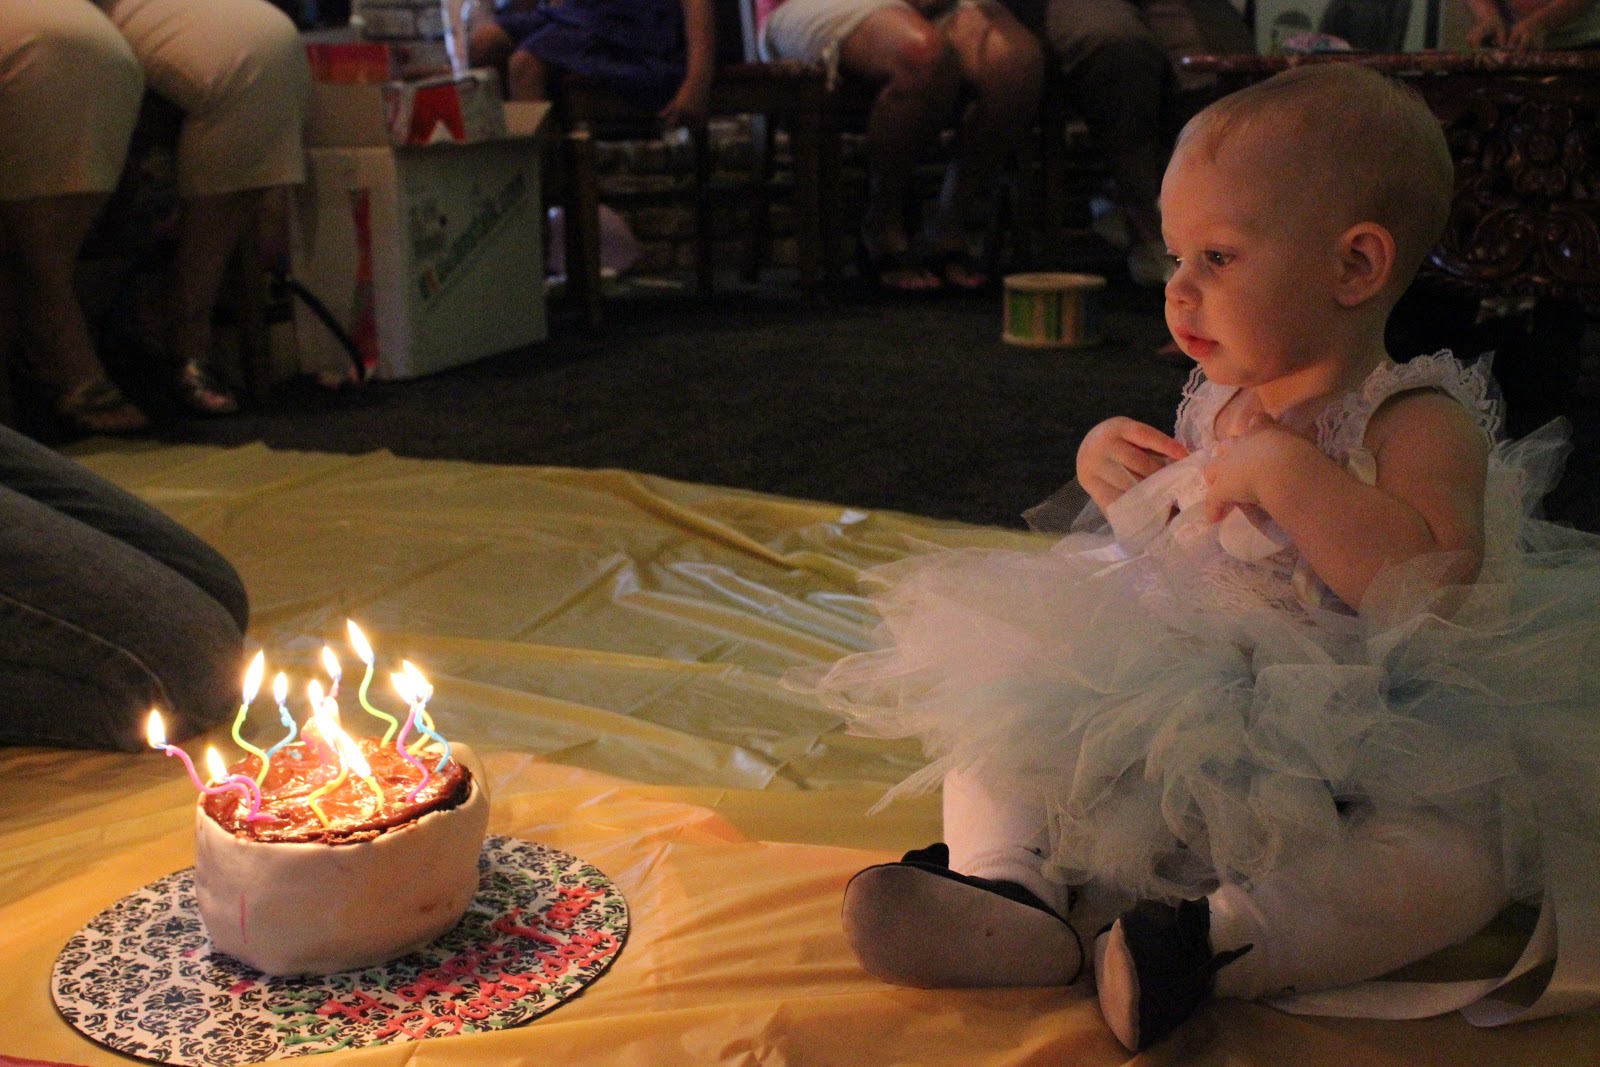
Then it was time for cake! Here's a progression of the cake's destruction.


The remains.

This is how the party ended. We got her cleaned up and laid down for a nap as the guests took their leave.


